
Introduction:
The SNMP data collector is designed to read information from your network printers. There will not be read any personal information, but only hardware information such as device name, IP-address, mac-address, brand, model, counters, supplies levels and alerts.
Step 1: The configuration
Login and navigate to the account where you would like to install a data collector.
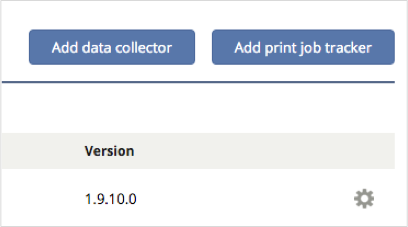
Create a new data collector by clicking “Add data collector” and then enter an appropriate name. If you have multiple networks please use a name easy to map to the network for example: “Student network”.
In the discovery section click the “+” to add an IP-range. Enter it as from – to. Example: 192.168.1.1 to 192.168.1.255
The community string used is default public. If you are using otherwise simply overwrite it with the correct community string. If you need to add more add them with commas as separators.
Recommended settings:
- Discovery: every 4 hour, start at 09:00)
(Please note that discovery is about finding new devices only. If you need more frequent reporting you need to update the polling and reporting frequency. - Polling: Every 15 minutes
(Polling is the service which updates counters and all other information on all devices discovered) - Reporting: Hourly
(If you need more frequent reporting in case of alerts, this can be changed to every 15 minutes)
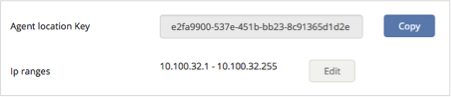
Copy the location ID
Click save.
Step 2: Download the data collector
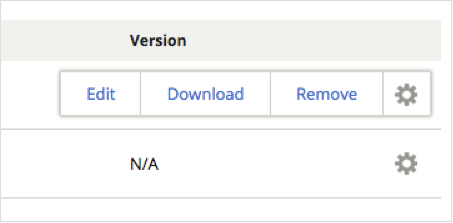
Click the settings icon and choose “download”. From here you have a online guide showing the installation wizard. If you need a direct link: https://services.3manager.com/Downloads/Agents/Latest?type=ExeInstaller
Click “download” to download the data collector software. In this view, you also have screenshots of the installation so you are prepared for the upcoming installation process.
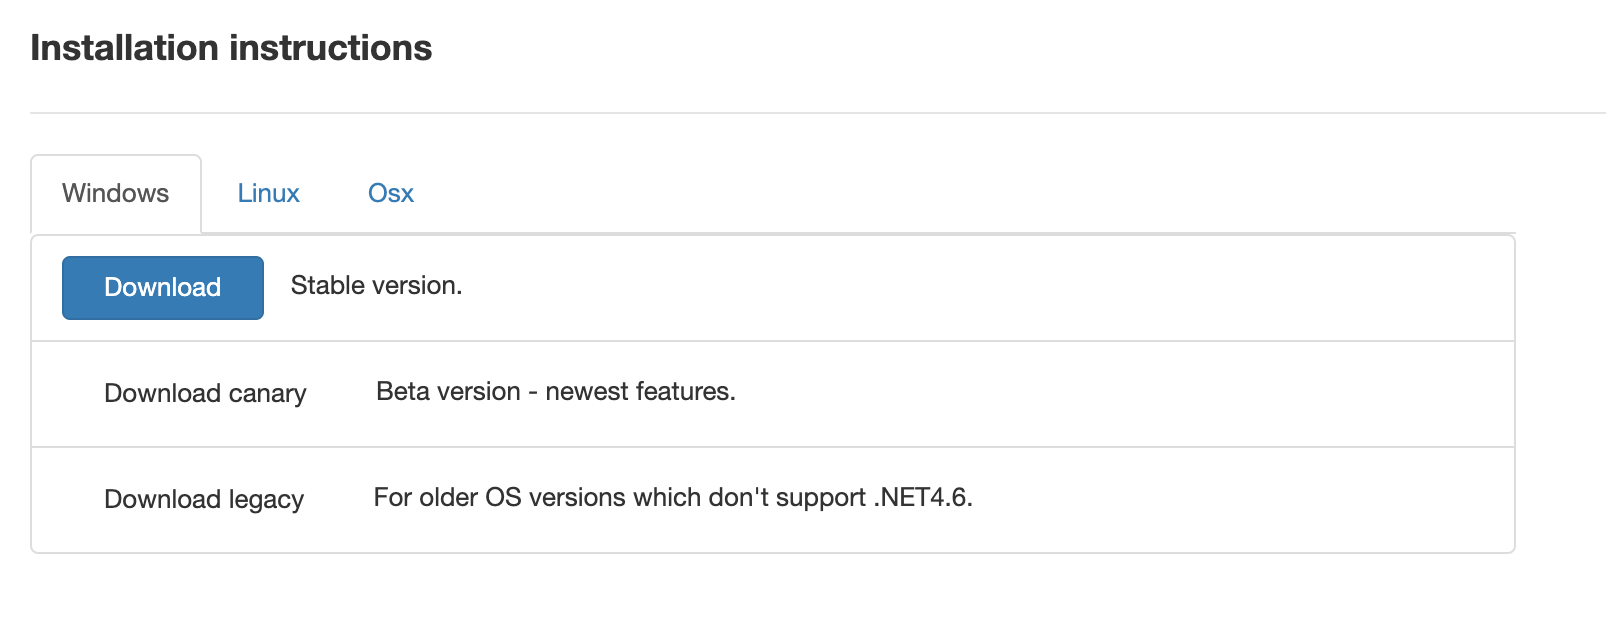
We recommend using the stable version always unless otherwise advised. The legacy version is only for windows based computers with a .net framework older than 4.6. (However we strongly advise to upgrade the .net framework)
NOTE: You can send the installation instructions by email.
Next to the email click the "Send instructions"
In the data collector configuration, you can enter a contact person and email. Enter the email of the user (he/she doesn't need to have access to 3manager to install).
The user will receive the instructions including guide and security information. The "From address" will be the email you are using to login to 3manager.
Step 3: The installation
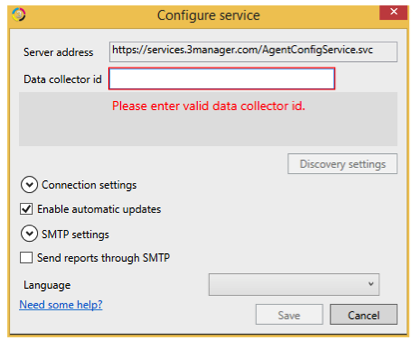
Run the downloaded software and follow the installation guide. After installation, the data collector will ask for a location ID. Paste the copied location from step 2 and you are finished.
If it doesn’t open automatically double click on the “3manager status” on the desktop and then paste the location ID and click “Save”.
The data collector will work as a service from now on and follow the configuration made online.
Tags:
DC, minimum requirements, installation, SNMP agent
Comments
0 comments
Article is closed for comments.